Today I'm going to take y'all on my continued journey of my Closet Makeover. To see where I started with my makeover, revisit this post,
Vivid Hue's Closet Makeover. This endeavor started with the goal of organizing my closet. After the first round of purging which led to twenty bags for donation, I became motivated to not only organize the space but also make it more feminine. Within one night, I'd created a mood board for my vision pulling budget friendly sources that could be delivered to me quickly.
I was determined to make this space feel girly and colorful like the rest of my home. These built In drawers were giving me agita. There was just no easy way to work around them and yet I didn't set out to spend a lot of money. In the end, I decided I would paint these and I was going to go all In.
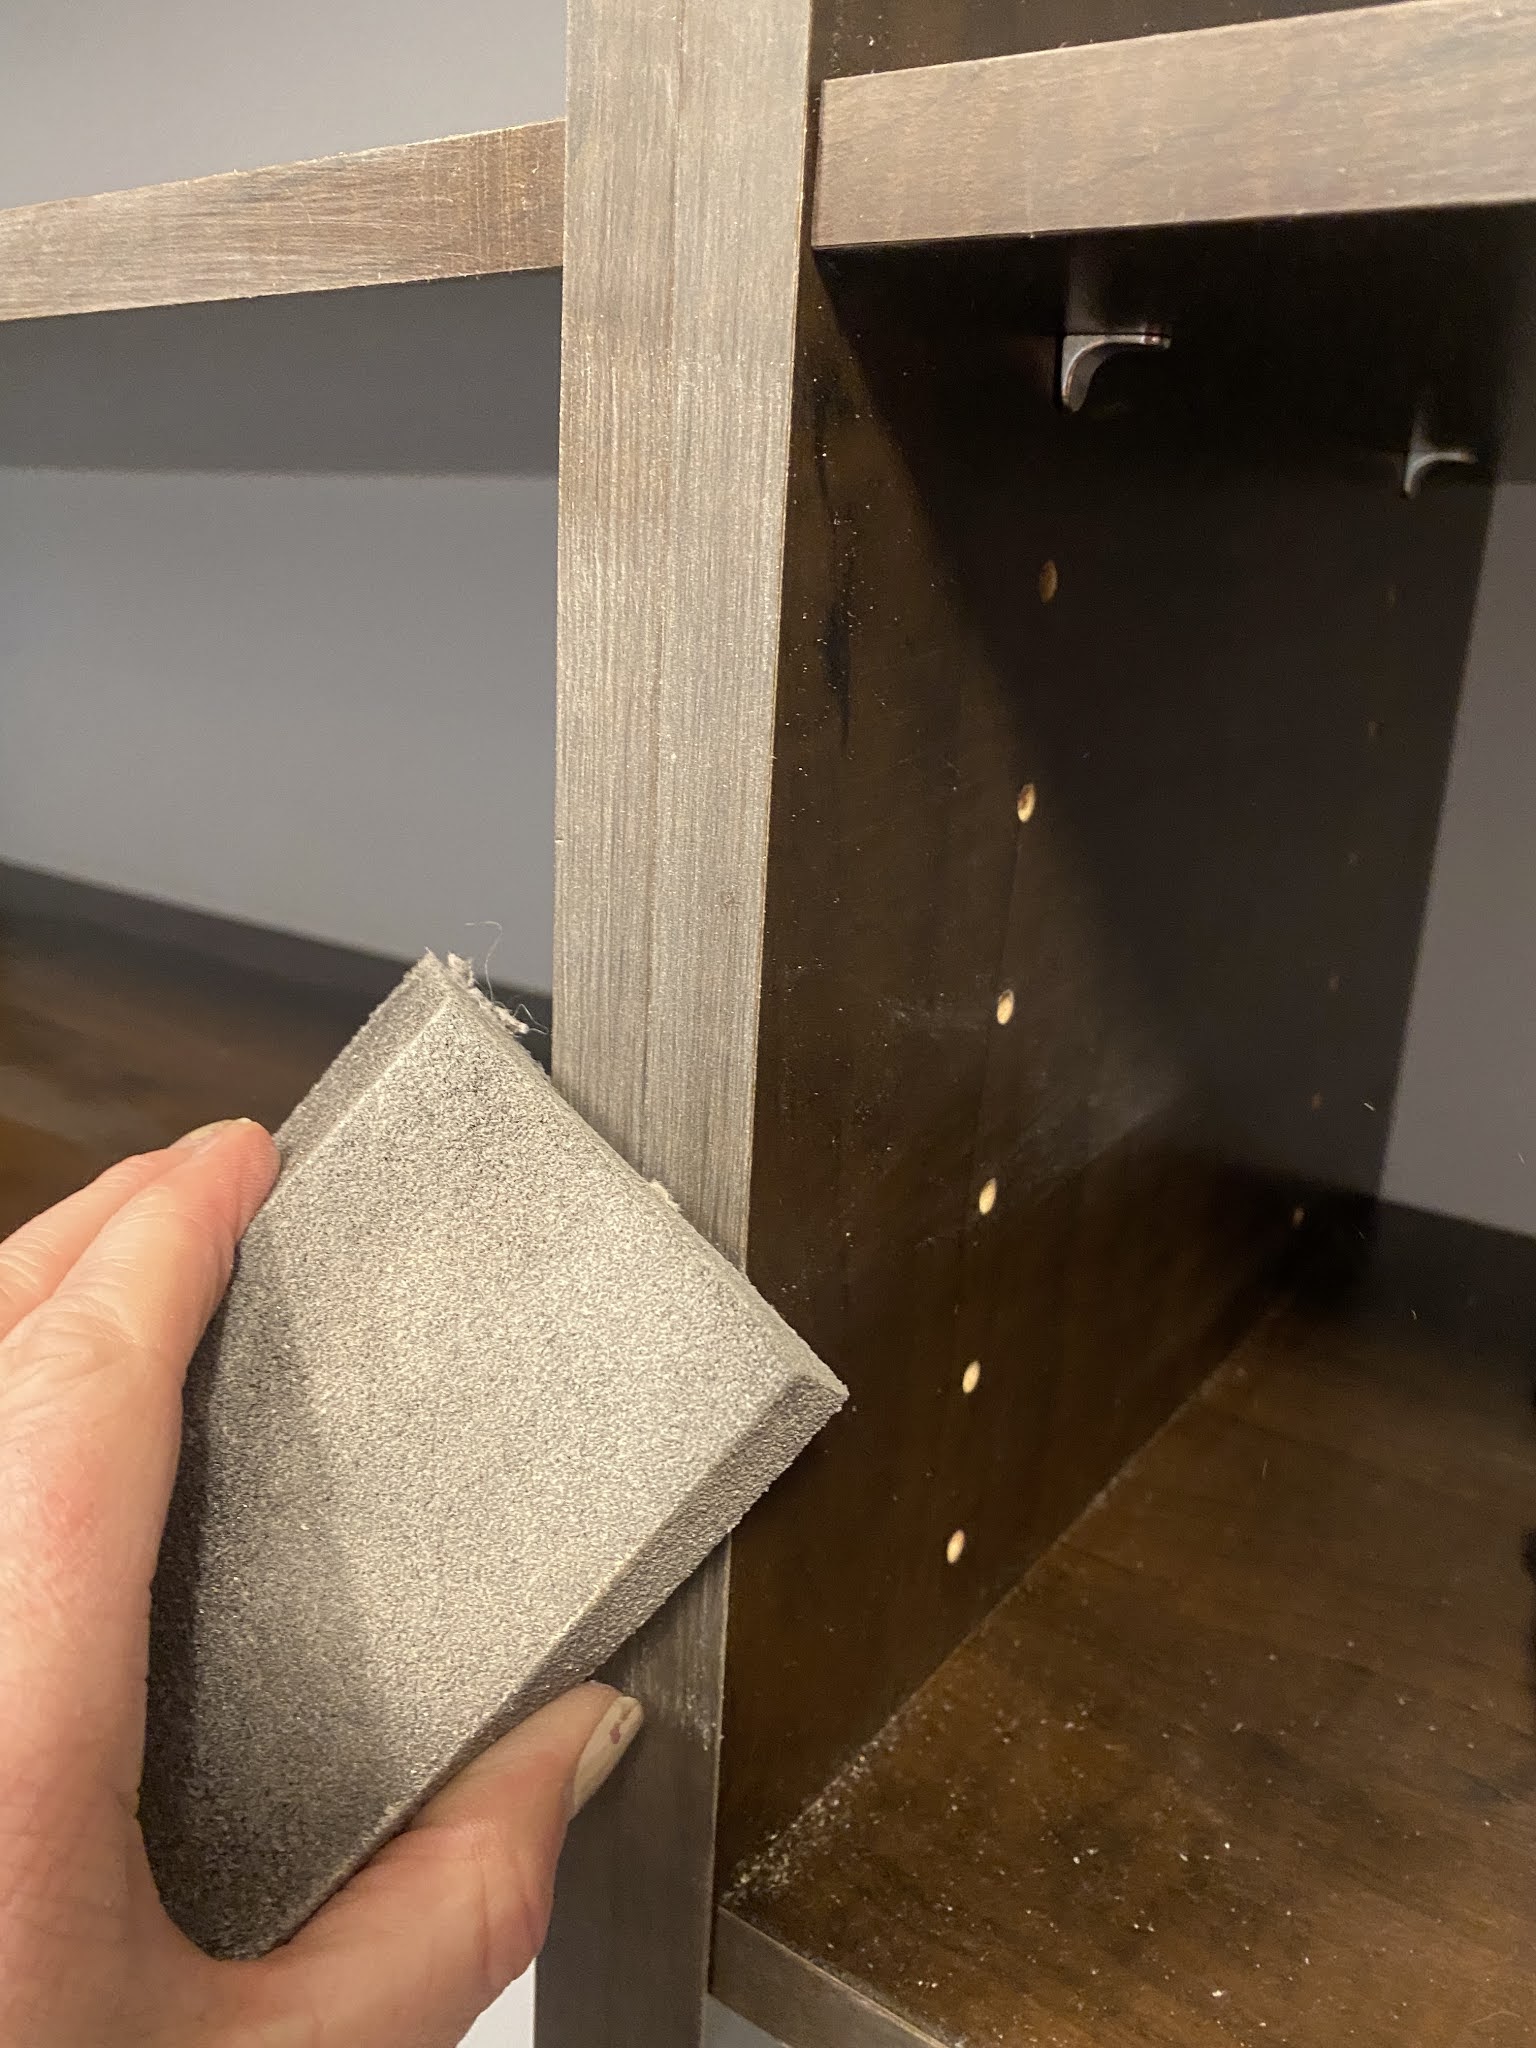
To prep the surface of the dresser, I used a fine sandpaper sponge to rough up the surface and remove the slight glossy finish. The goal wasn't to remove all of the dark wood coloring it was to add some texture to the surface so the primer would have something with which to adhere. I wiped the surface with a damp cloth to remove the slight dust film.
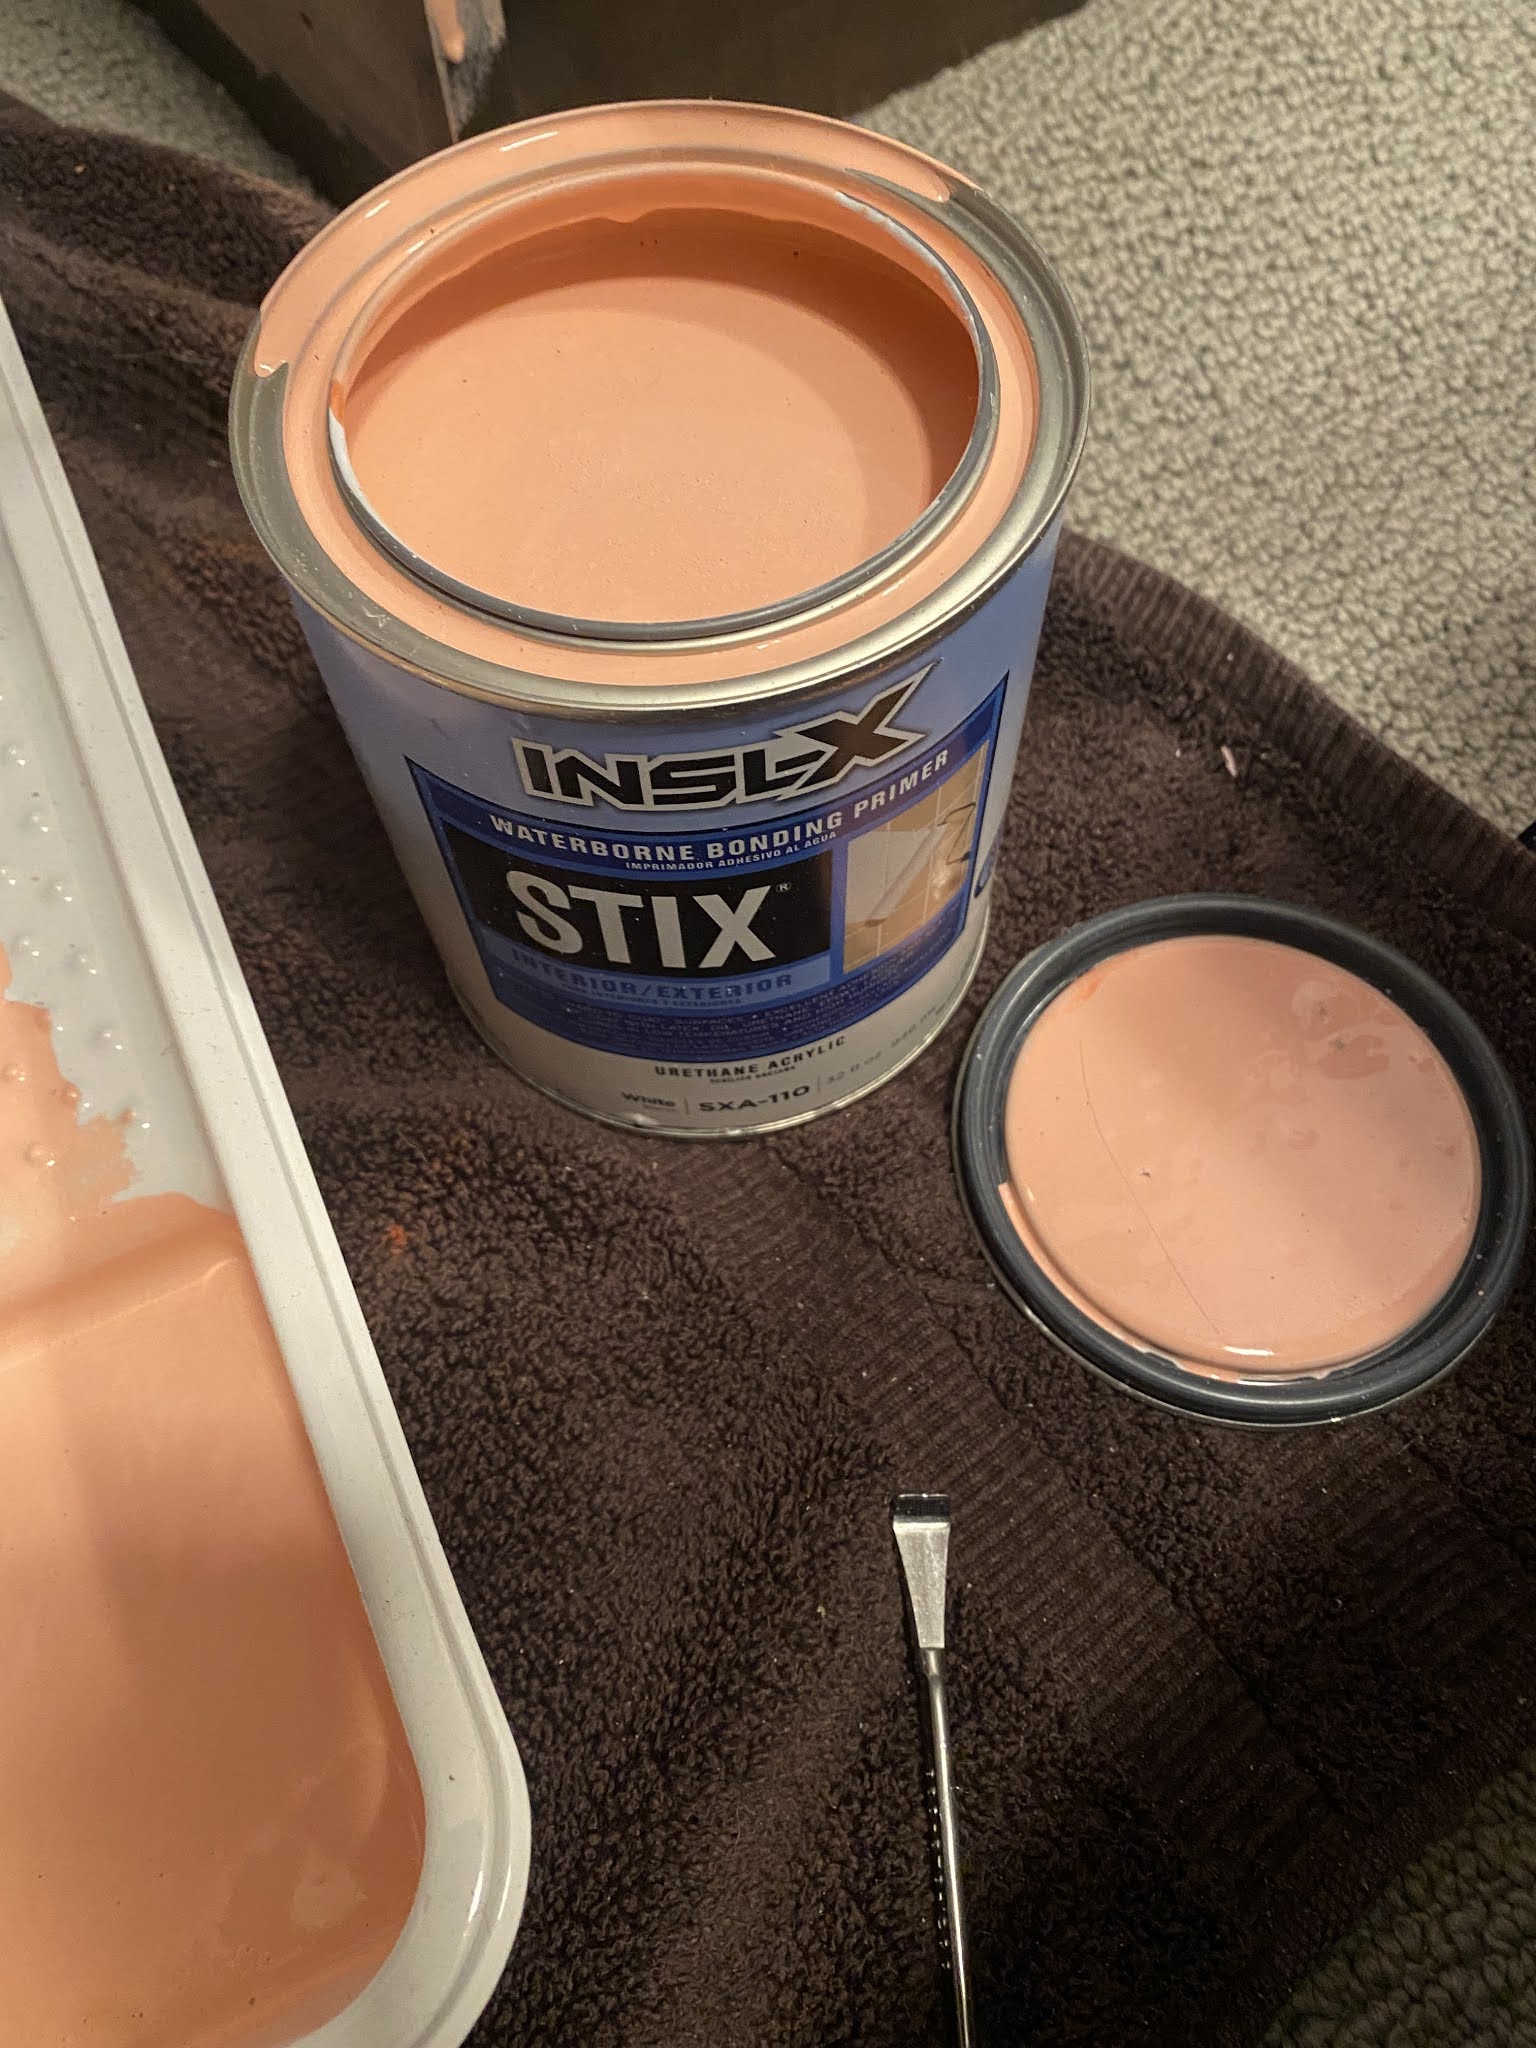
I selected Benjamin Moore Pink Peach 2009-40 paint color and a one coat primer that the paint store tinted with a bit of the pink peach color. This helped expedite the process because as I was adding the primer, the drawers became one step closer to their final color. Y'all that have followed me for some time know that I love to skimp on my DIY's any way I can. Yes, it's true. I become excited to see the end result and I often rush the process. That said, I didn't even remove my drawers from out of the closet or put a drop cloth down. I literally sanded and prepped them right there.
The initial coat of primer went on light and streaky. I let it dry overnight and then returned to do another primer coat. The more thoroughly you cover the original color of your surface with primer, the better the final coat will adhere.
The actual paint was a high gloss because I wanted a sheen to the surface. Below was the start of adding the final coat. I didn't put more than one final coat on the drawers. I did, however, have spots that had drips and I had to resand those sections down a bit and retouch.
You can see some of the paint streaks In the photo below. I sanded those down with the drawers In place.
 |
| Click here to watch video |

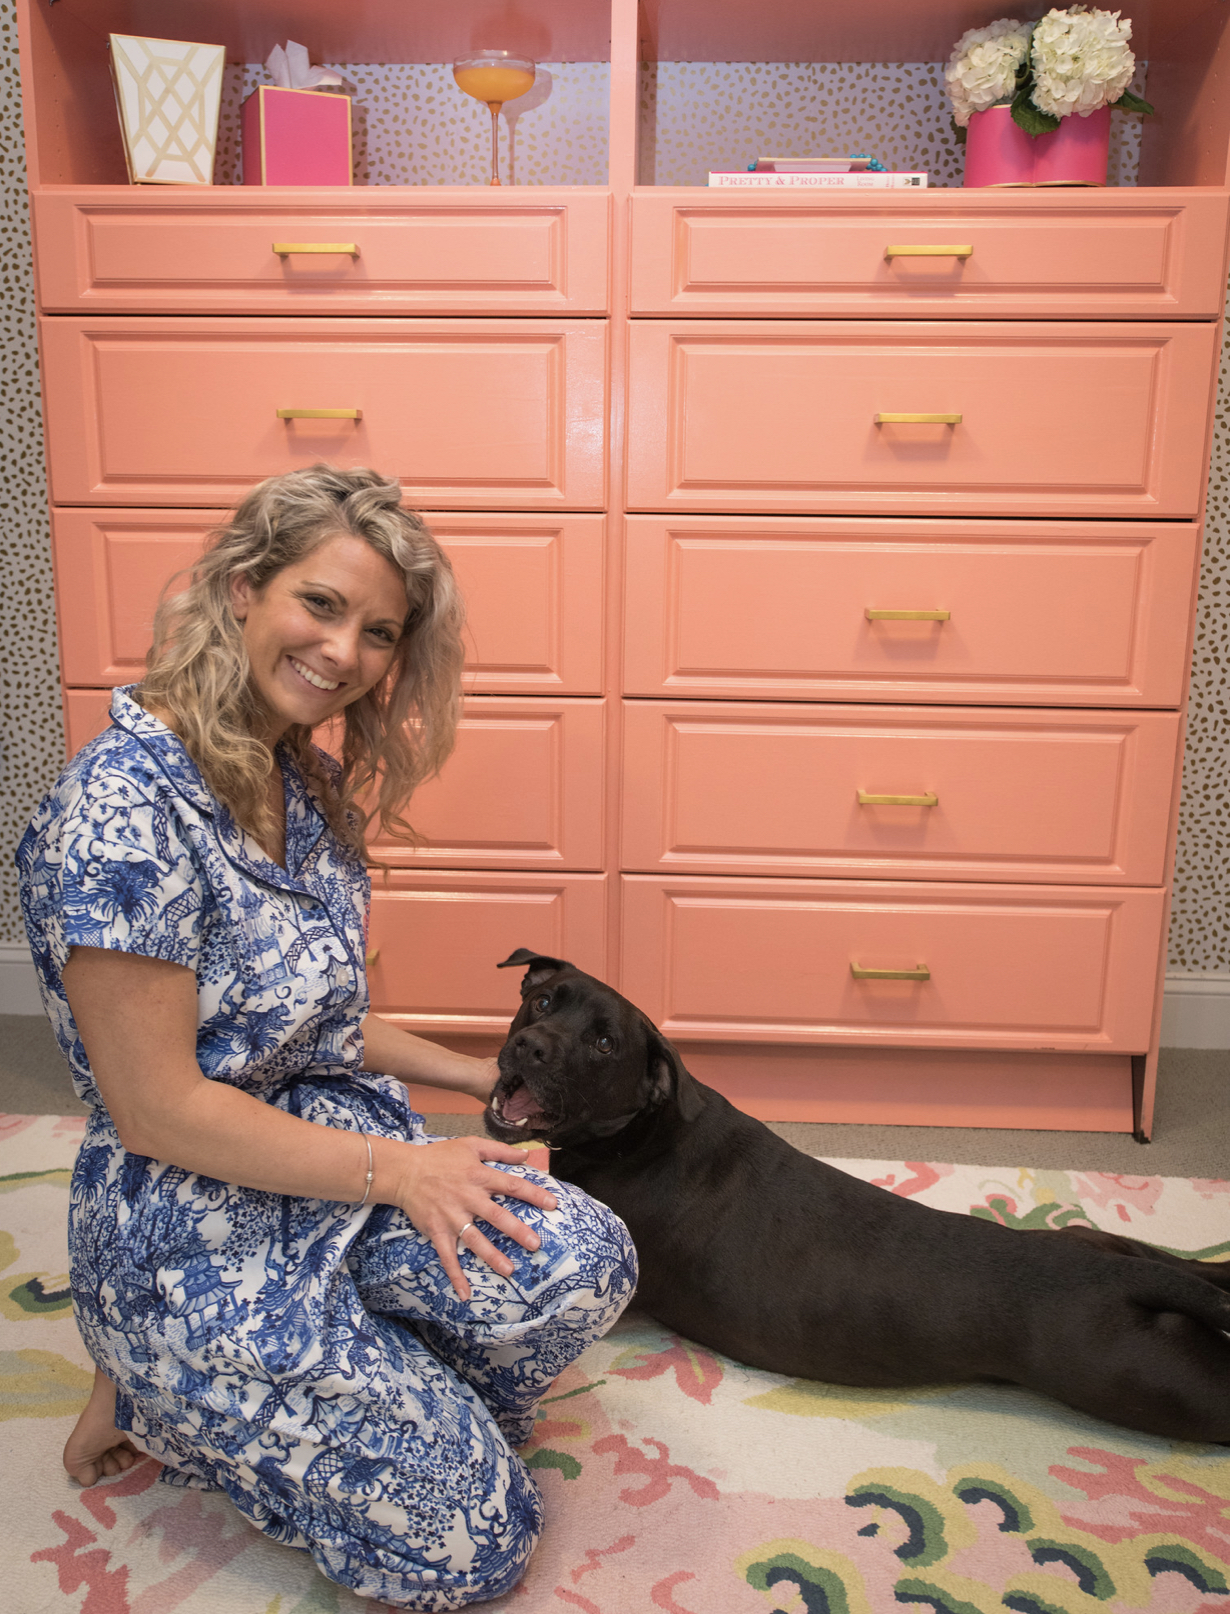
Bradley Cooper relaxes In the closet on the new MadCap Cottage Rug! And I practice to take selfies of my outfits from my closet!
Next, be sure to check back to see how the finished project turned out. Now that I had updated the interior of the closet it was time to return to actually organizing and straightening the items In there.
Also, like the style you see on the blog? Why not head over to the
Vivid Hue Home shop and see all of the awesome home decor items we sell!